
Our walkthrough covers the full route for the Dig It Gorgon Maze, how to avoid the Medusa monsters, and how to find the maze.
Can you complete the Dig It maze? If you’re new to the game, take a look at our Dig It Stats guide and our guide on the Dig It Exotic Rarity!
Dig It Gorgon Maze
The Gorgon Maze is a tricky one to complete, especially with the dangerous enemies that wander throughout.
Gorgon Maze Walkthrough
Whilst making your way through the Gorgon Maze, keep an eye out for the Medusa-looking enemies that roam the pathways. Luckily, there are multiple small dead ends that you can use to evade them. If they see you or you look directly at them, you are sent back to the start of the maze.
The Route
- Walk forward and take the first left
- Continue to follow the path
- At some point, you’ll spot a dead end to your left, followed by a new pathway in the same direction – take that pathway and head to the first left again
- From here, you should see a glowing green light to signify the location of a nearby Medusa
- Go around the wall and head forward
- Take the first right and go straight
- Turn right, follow the path, then head to the right again before taking a quick left turn to enter the Colosseum area
The Colosseum area is another step in the process of obtaining the Thunder God Shovel. You need to collect all items from this area so that you can obtain the Roman Key.
How to Reach the Gorgon Maze
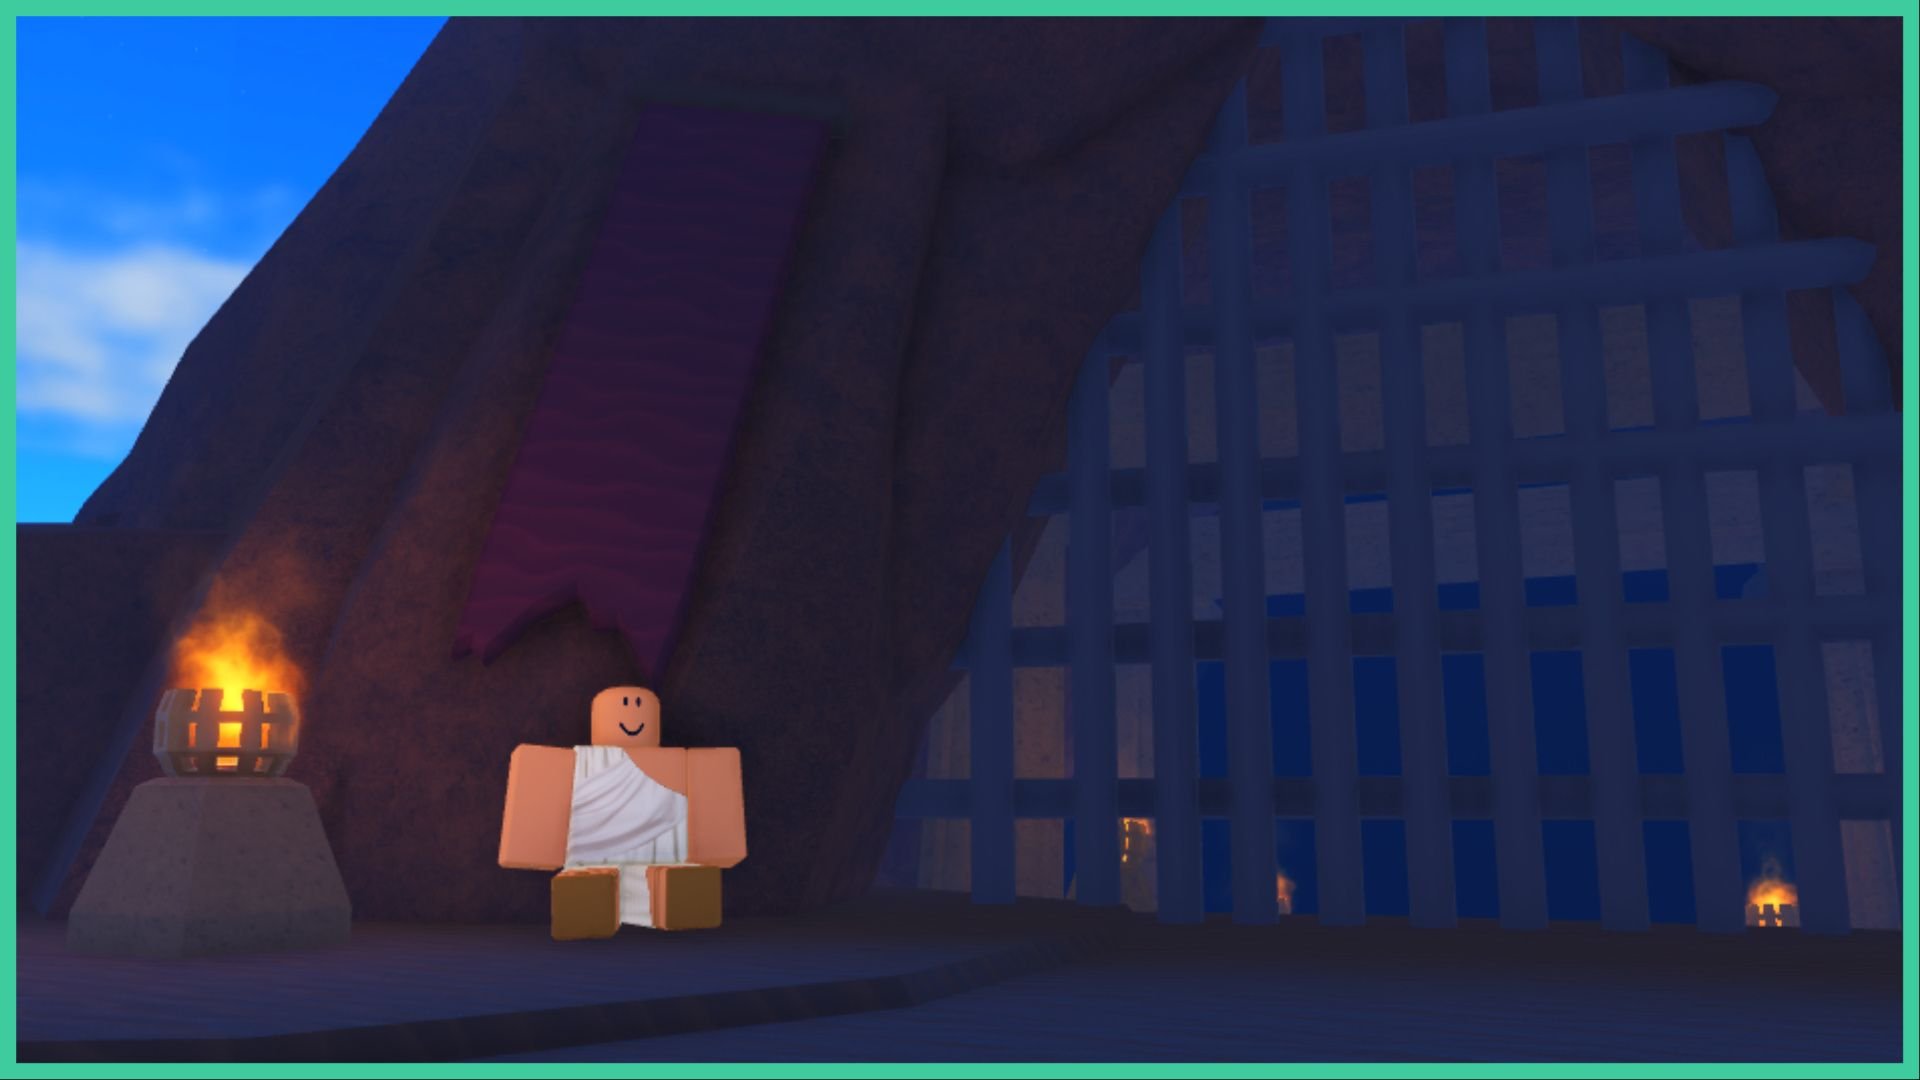
Firstly, you need to complete the entire Collection page for Relica Island. This is because you need to have the Amulet of Ruffles, Amulet of Cats, and the Amulet of Hobos in your inventory. While on Replica Island, find the Brutus Demutus NPC who sits on the ground by a temple to receive a mission that grants you entry.
After completing the mission, you can now access the temple by walking through it. This is where the Gorgon Maze is!


